




How to take a screenshot on Mac
For anyone sitting at a Mac who needs a still image of part of the screen without opening another app.
IJR · Oct 10, 2026 · 2 min read
Mark the area with a three-key shortcut so the Mac saves exactly what you outline and nothing else.
Wake the Mac, put the target window or page on screen, and leave one hand free for the keys.

Scroll or resize until the content fills the area you plan to capture. Close banners or side panels that cover the part you need. You are set when the layout matches what you want in the final image.
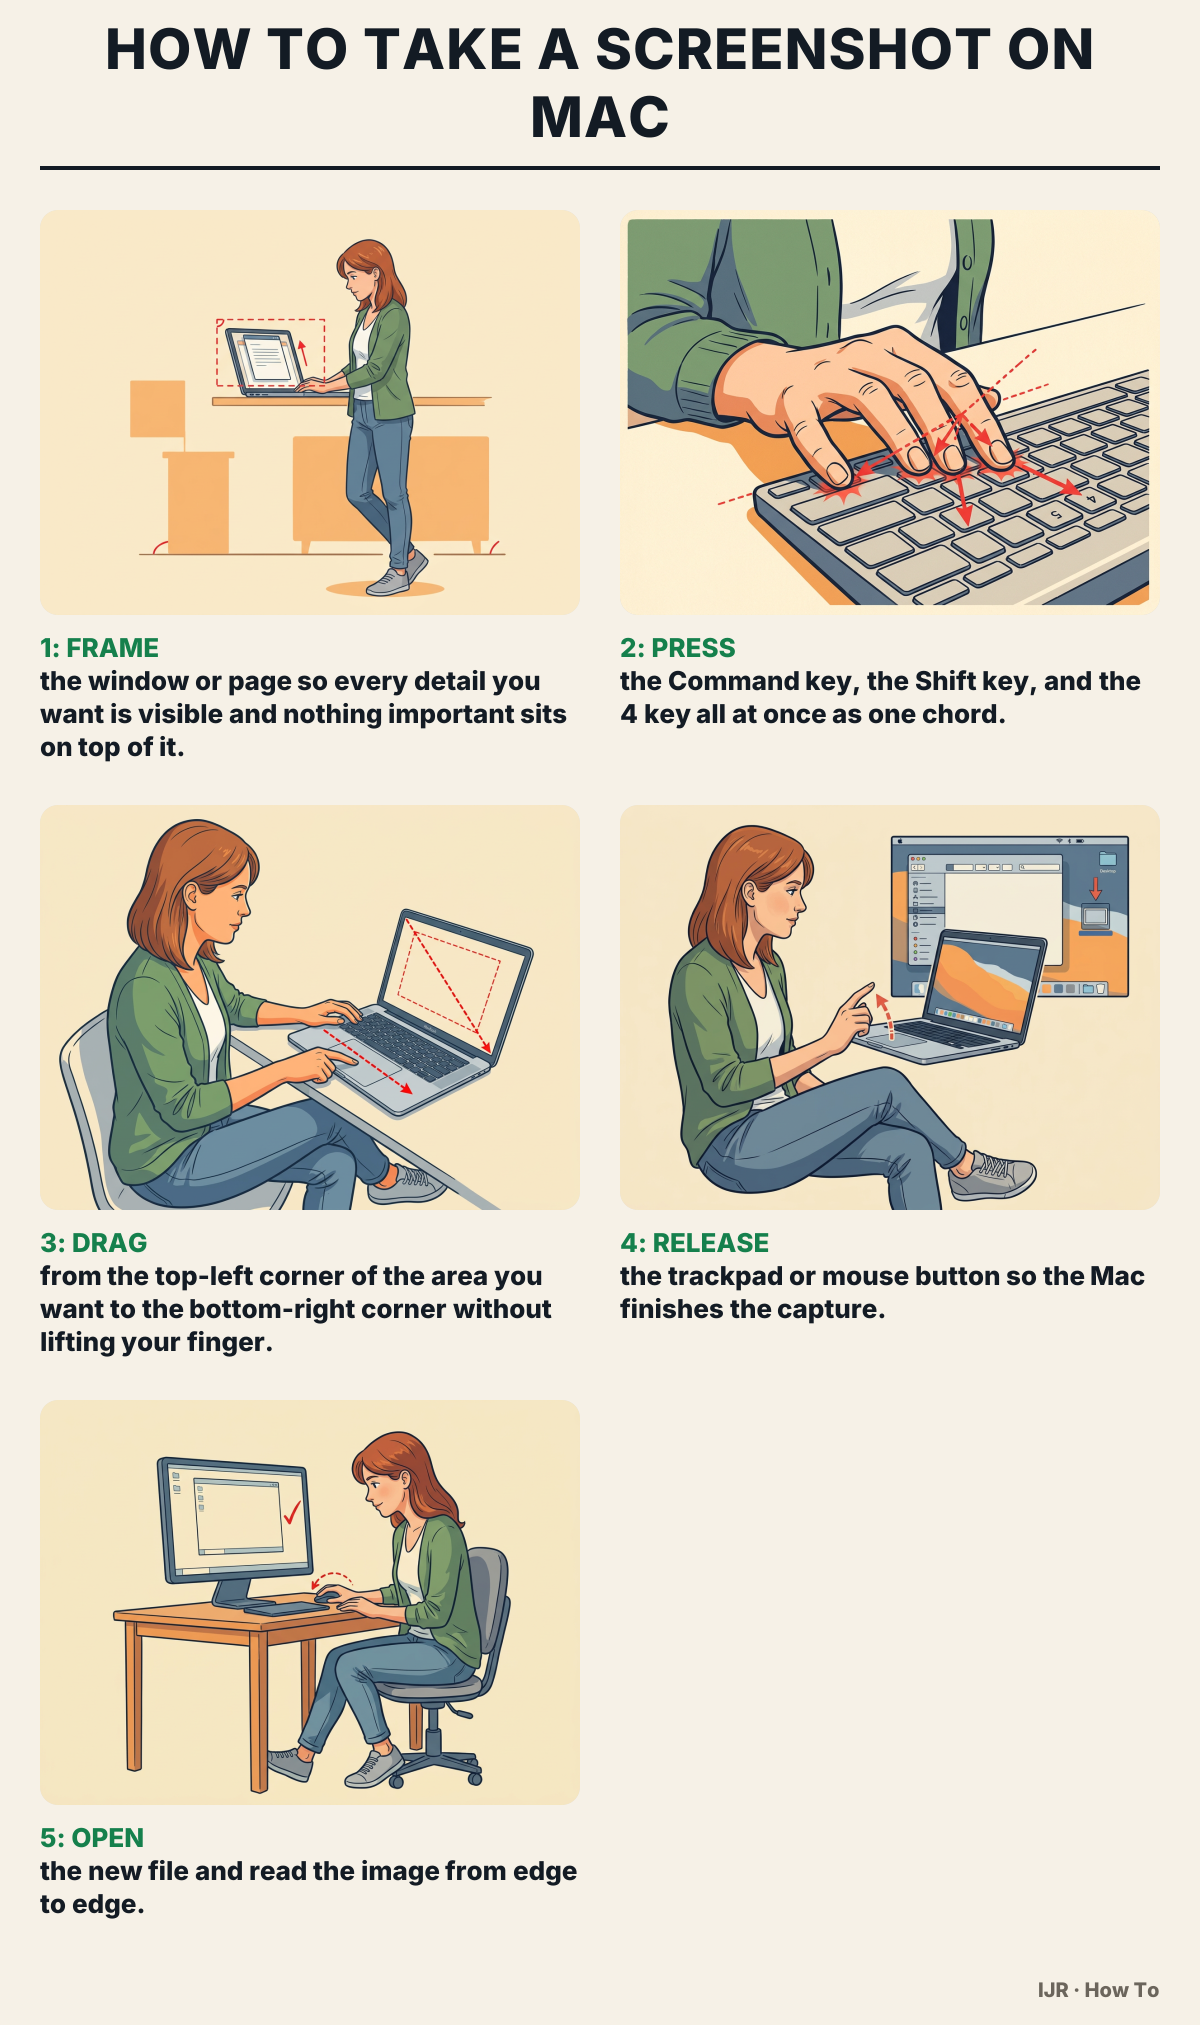
Command sits left of the space bar and shows a looped-square symbol. The pointer changes into a crosshair with small numbers beside it. If the arrow remains, lift your fingers and press the three keys together again.
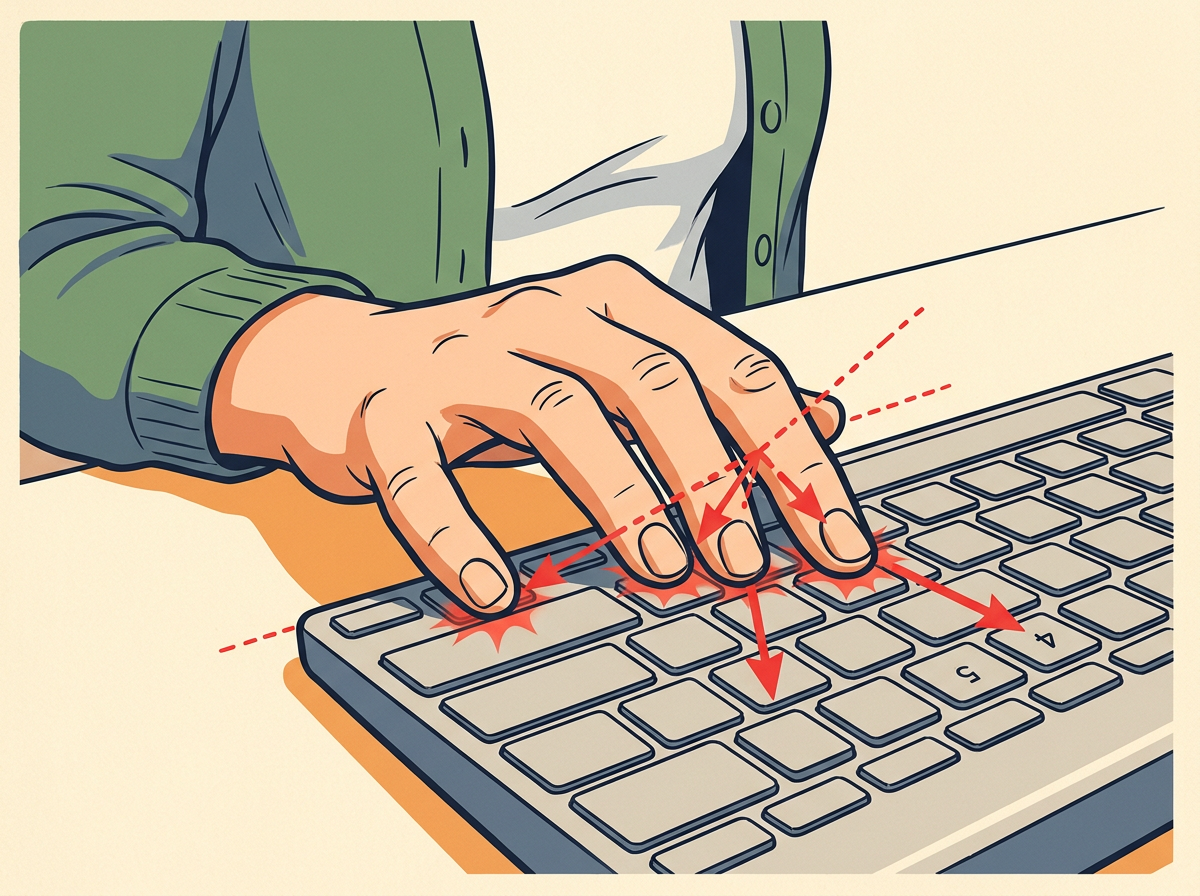
A greyed rectangle expands over the selection as you move. Keep the edges tight to the content. The box is right when it covers the target and leaves out the menu bar and other windows.
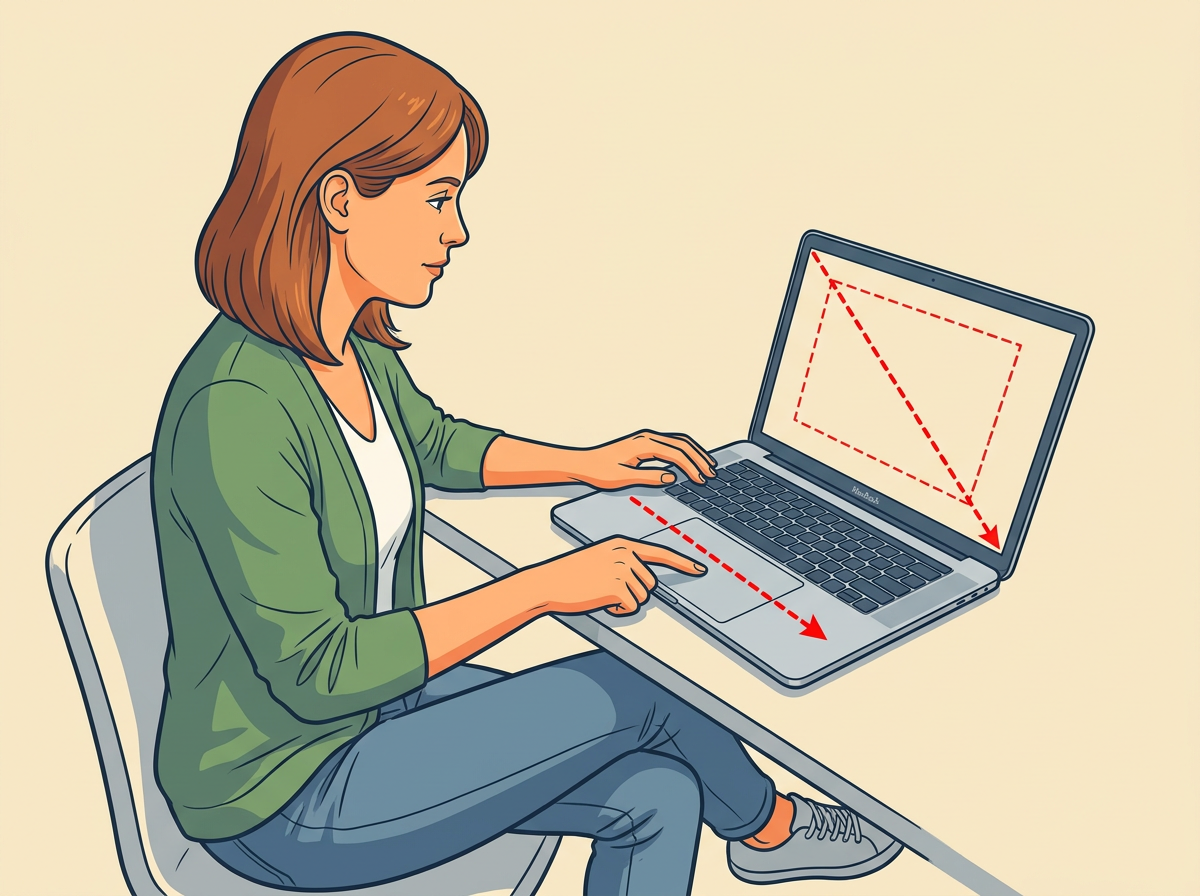
You may hear a short shutter click if the speaker is on. A new image file appears on the Desktop whose name begins with Screenshot. If no file arrives, repeat the three-key press and the drag.
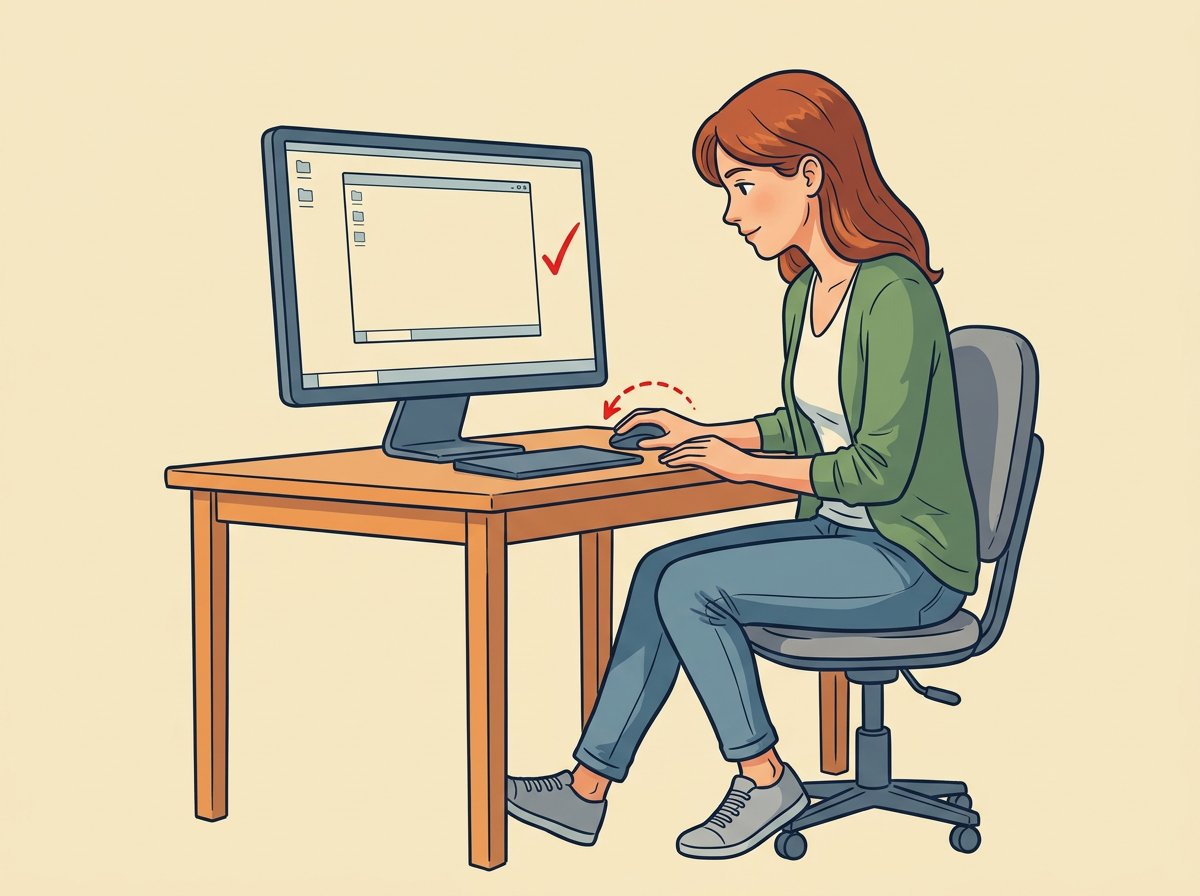
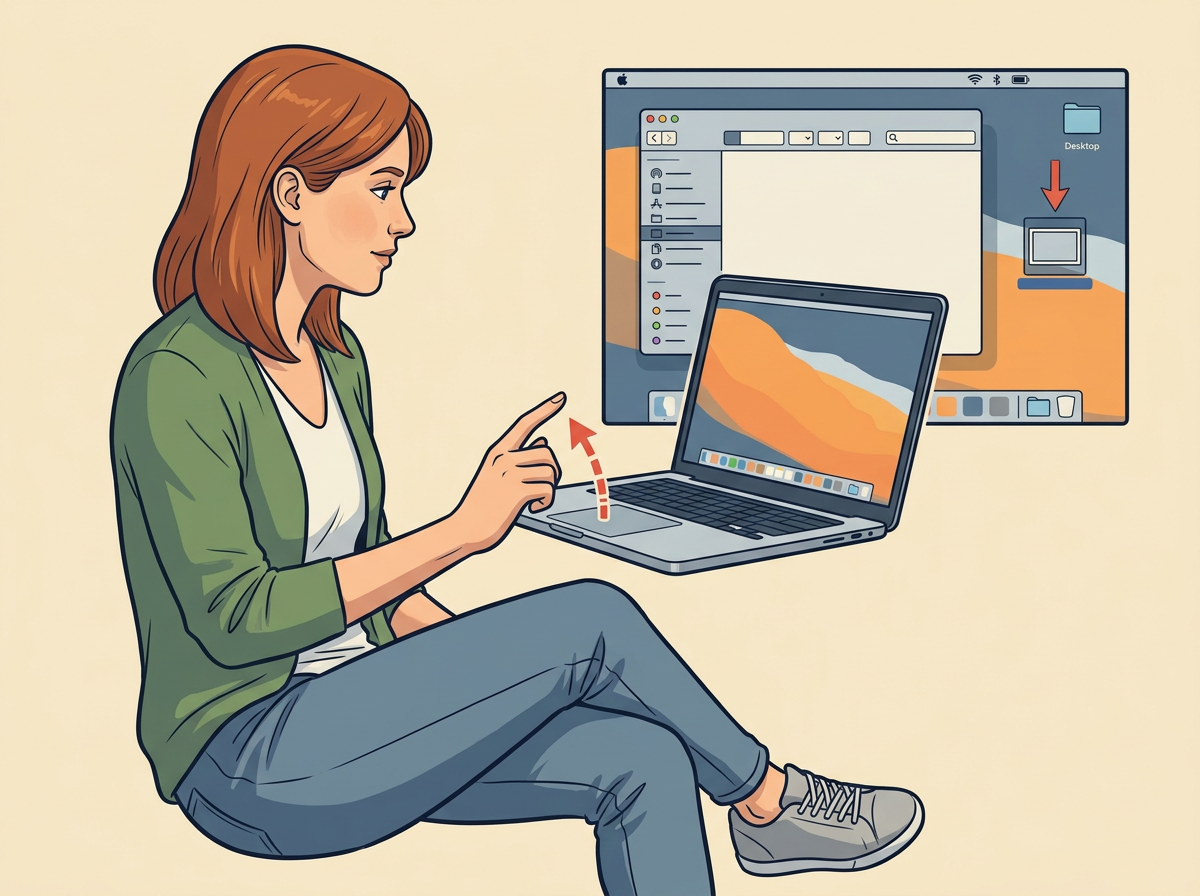
Double-click the file that just appeared. Confirm the crop, text, and colours look sharp. If something is missing or cut off, move that file to the Trash and run the shortcut again.
The most common mistake
Pressing the three keys one after another leaves the pointer unchanged and saves nothing. Push all three down in the same instant, then start the drag only after the pointer changes shape.